I first got the tip from Sneaky Momma Design Tips, this site has lots of good and easy tips for bloggers. I have learned quite a lot since I visited this site.


Step 1
From Sneaky Momma post on this topic I found this site - Favicons4free where I used the code that worked for me.
But before all that I had to get an image that I 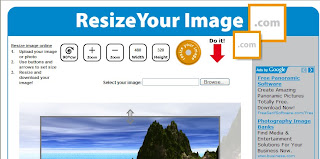 liked so I googled an image and copied it. This site has a lot of good images too. Icon Archive.
 liked so I googled an image and copied it. This site has a lot of good images too. Icon Archive.
 The image that I choose was in jpeg format and I wanted it in png format. So I used Resize Your Image site to do this. I use this site quite often to resize and crop my images for my website.
Step 2
The next thing is to convert the png file to an ico file and reduce the size at Convertico. The size of the file should be 16 x 16. The result would be a url address like this, 'http/www.convertico.com/images/12520481.59/tt.ico'.

After all this has been done, insert the converted file into this code. I was trying to insert the code here for you but it just was not saving. So I will have to revert you back to Favicon4free for the example. Choose any icon, copy the code and the part where the url for the image is, insert your url.
Step 4
Final step, go back to Sneaky Momma Design Tip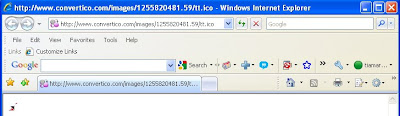 s for the instructions to insert this code into html part of your template.
 s for the instructions to insert this code into html part of your template.
Conclusion
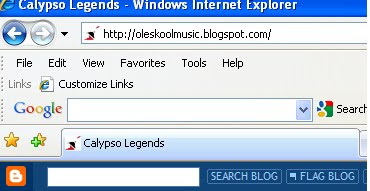
I do hope my notes has been helpful someone. The last image is of my blog withmy newly installed favicon.
Much success to you!
Update 21st October 2009: This blog recommended this site that does everything.
No comments:
Post a Comment